Top Tips
Tutorials
Field Notes
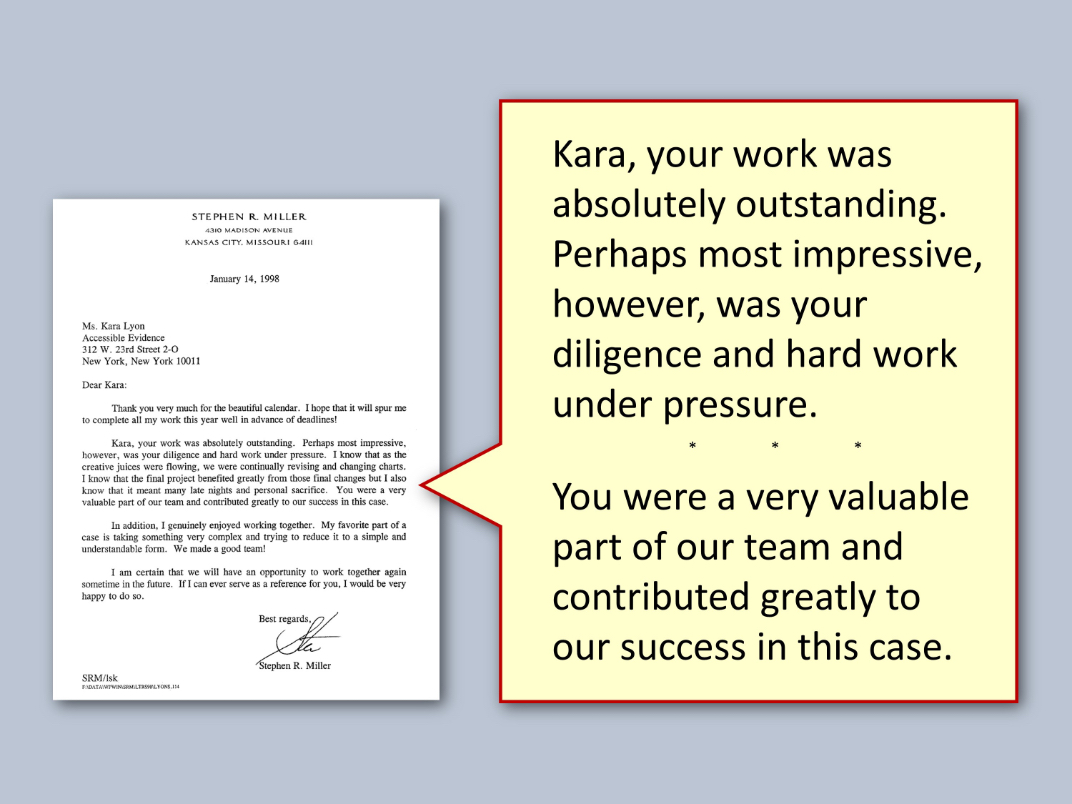
Step 1 – Use a call-out box
Adding a call-out box on your document allows your important text to be bigger and easier to read.
However, when you simply enlarge parts of the original as we’ve done here, the long line length and small type size results in called-out text that isn’t much more legible than what is in the underlying document.
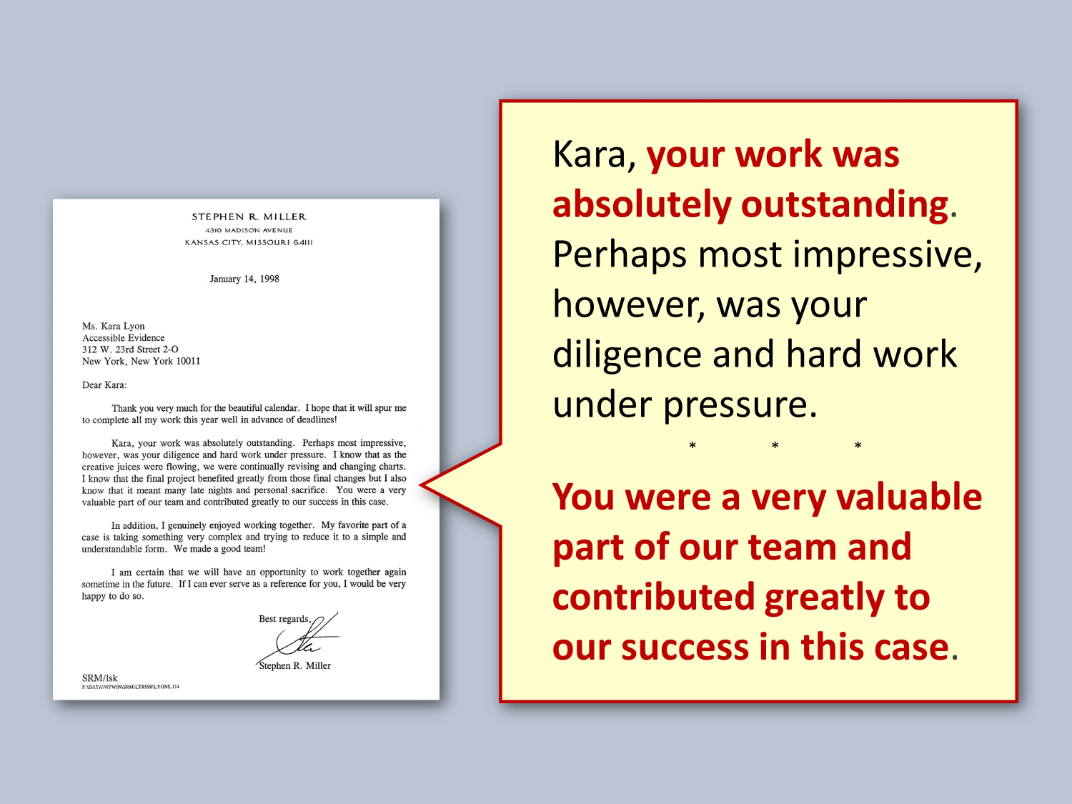
Step 2 – Type your called-out text
Re-typing the called-out text allows for shorter line lengths and larger type. This makes the important text easier to read.
In this example we’ve reduced the size of the scanned document so that we have more room for the text in the call-out box.
Step 3 – Highlight inside the box
In addition to focusing attention on the most important language, highlighting within the call-out box adds a design element known as “contrast.” Contrast is what grabs your viewers’ attention and gets your trial exhibits noticed.
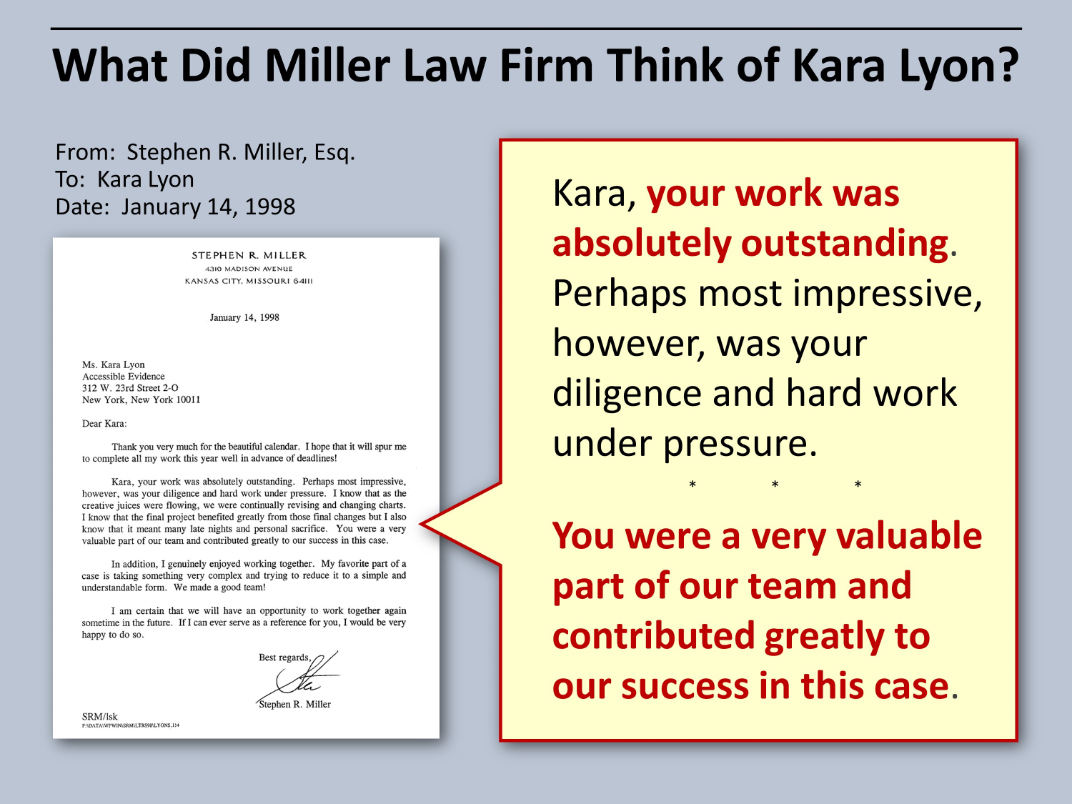
Step 4 – Add a title and a source
Our final step is to add a title and source information. Short succinct titles are best. In this example we’ve made the title a question that is answered by the language in the call-out box.
And yes, we really have been doing this since 1998!